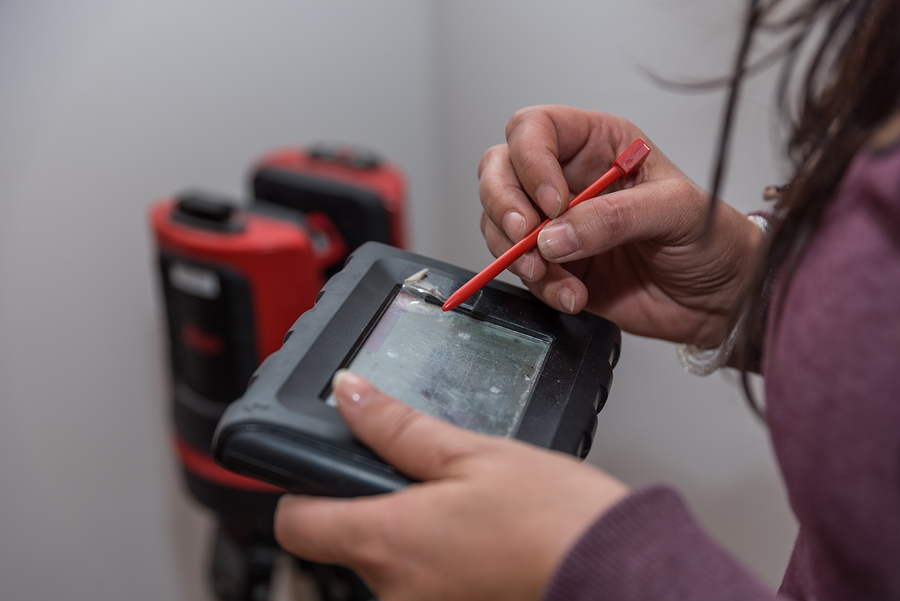
When we’re talking measurements, the images that usually flood our minds are of the mundane types, such as tape measurement in tailoring or dressmaking or measuring cups for the purpose of cooking.
These types of measurement are what is most commonly known as direct measurements, in that the observer require direct access to the object being measured. But what if we’re required to measure vast distances or when circumstances limit our access to the object itself? That’s when science and technology comes into play.
With airplanes for example, air traffic controllers pinpoint their location using radars, using electromagnetic waves and their reflected waves to accurately measure the distance between the radar and the airplane.
Ships use sonar to measure how deep the surrounding water is, using similar basic principle as radars. This same principle is also applied to dry film thickness (DFT) measurement tools such as the Elcometer, which measures the coating thickness, usually paint, that’s applied to a surface.
Coating thickness measurement
Other than the distinction between direct and indirect measurement, DFT measurement is also divided into destructive testing and non-destructive testing. Destructive testing refers to any analyzing or testing practice that causes damage to the object being measured while non-destructive testing keeps the object unharmed. Obviously, the latter method is much preferred. Imagine for example if doctors have to cut into your body every time they perform a diagnosis.
In DFT measurement, because we’re usually dealing with very fine objects, destructive testing is quite similar to those biology projects that you might have done in school. It usually involves cutting a cross section of the object being measured and uses that sample for measurement using a magnifier or a microscope. Non-destructive testing usually utilizes laws of physics and technology to measure distance without damaging the object.
Common non-destructive measurement tools include ultrasonic thickness gauge, which works on the same principle as sonar and radar, and magnetic thickness gauge, which utilizes laws of magnetism to measure small distances. Because they take advantage of magnets, these tools are only effective on magnetic substrates such as most metals. They are further divided into magnetic pull-off thickness gauge and magnetic induction gauges.
Magnetic pull-off thickness gauge
This tool is named so because it measures distance by calculating the amount of force needed to pull-off the magnet from the surface. The idea is that the easier it is to pull the magnet away, the thicker the coating that has been applied to the surface. Because of its simplicity, this type of gauge is usually inexpensive and fairly portable with the caveat that they’re not as accurate as magnetic induction gauges.
Magnetic pull-off thickness gauge comes in pencil-type models or rollback dial models. Pencil-type models uses a helical-shaped spring that is positioned perpendicular to the surface and can usually be used in only one or two position to account for gravity. The magnet compresses the spring as the gauge is held against the surface while a scale converts the amount of force being applied to the spring into the measured distance between the tip of the magnet and the metal object, which is defined as the coating thickness.
Rollback dial models are more common because unlike pencil-type models, they don’t have to account for gravity. In a rollback dial model, a magnet is attached to a balanced arm, which is connected to a calibrated spring. A dial on the balanced arm can be rotated to increase the force from the spring on the magnet and pulls it away from the surface. This force is what’s measured by the device, which is also converted into the coating thickness.
Magnetic and electromagnetic induction gauge
This type of device is divided into two, magnetic induction gauge which houses a permanent magnet and an electromagnetic induction gauge which uses the principle of electromagnetic induction to generate a magnetic field. Both devices work by gauging the magnetic flux density when the device is held against the surface, which increases as the distance grows closer. The device converts these changes in flux density to measure the coating thickness of the object.
Unlike magnetic pull-off gauge which uses an actual scale, the reading from magnetic induction gauge is presented digitally on an LCD display. Magnetic induction gauge is more sophisticated and more accurate than magnetic pull-off thickness gauge and as such, is several degrees more costly and is prevalent in industrial uses.
Despite their limitations on magnetic substrates, magnetic gauge remains a popular option for the measurement of coating thickness. Unlike other types of non-destructive testing, they tend to require very little calibration. Because the size of the magnetic probe is usually small, they are capable of handling curved surfaces, as long as the curve isn’t particularly extreme.

