As Australians, craftsmanship is a significant part of our cultural identity and the stereotype of the laid back Aussie tradesman is definitely a part of this. In the upbringing of most Australian children, being introduced to household maintenance and DIY construction projects normally started with a quick check of the Bunnings opening hours.
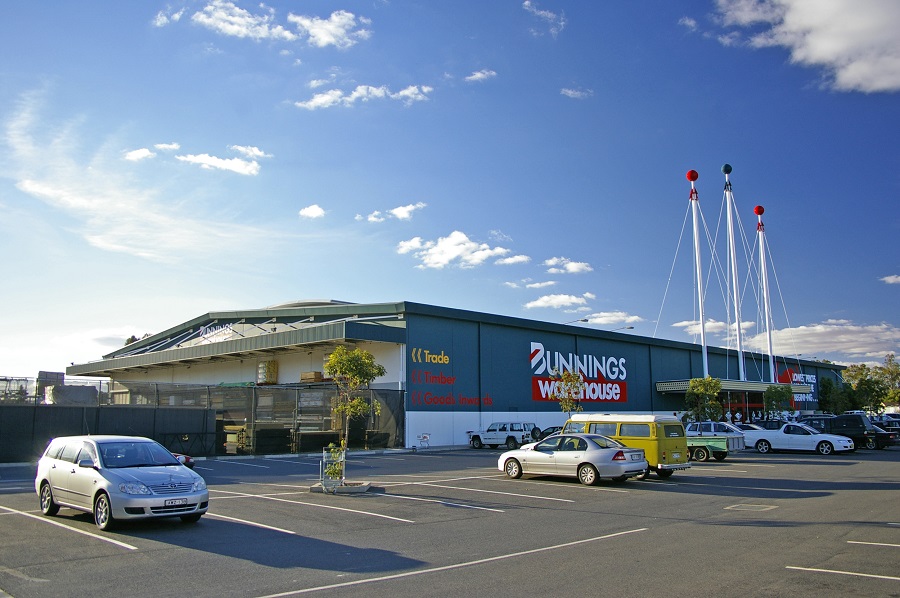
Certainly, Bunnings has cemented itself in the Australian psyche as the de-facto king of hardware stores. For many, the brand stands for classic Australian values of hard work, fairness and community.
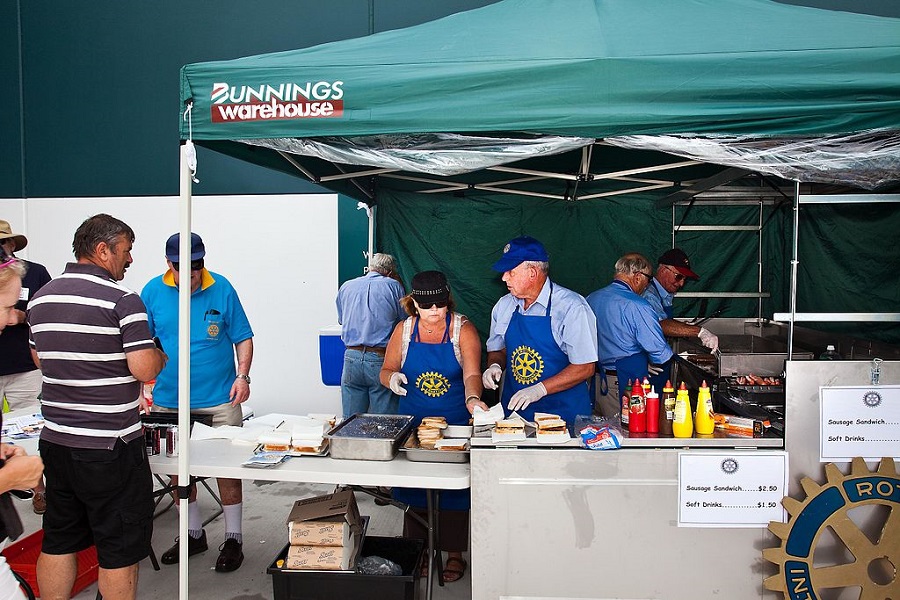
Not to mention – they’re famous for their weekend sausage sizzles that raise money for local fundraisers and charities. In fact, a lot of people will search for ‘Bunnings opening hours’ just so they can line up for their sausage sandwich!
If you’re looking for a new DIY project to begin with – or just need some tools and materials to get started – this is the right store for you. Bunnings has everything you could possibly need in order to successfully complete an endless amount of home improvement projects.
You’ll also get to benefit from the expertise of each store’s delightfully friendly staff. They not only help you find what aisle a product is in, they give you honest, no-nonsense advice about what the most affordable and effective solution would be.
All of this means that, prior to starting any DIY project; you’ll want to find out what the Bunnings opening hours are. The sooner you get into the store, the sooner you can get the help you need so that you project can begin in earnest.
Bunnings Opening Hours:
What time is Bunnings open?
Almost all Bunngins stores are open from Monday to Friday, from 6am until 9pm and on the weekends from 7am until 7pm on Saturday and until 6pm on Sundays.
Usual Trading Hours at Bunnings:
| Day: | Open: | Closed: |
| Monday | 6:00am | 9:00pm |
| Tuesday | 6:00am | 9:00pm |
| Wednesday | 6:00am | 9:00pm |
| Thursday | 6:00am | 9:00pm |
| Friday | 6:00am | 9:00pm |
| Saturday | 7:00am | 7:00pm |
| Sunday | 7:00am | 6:00pm |
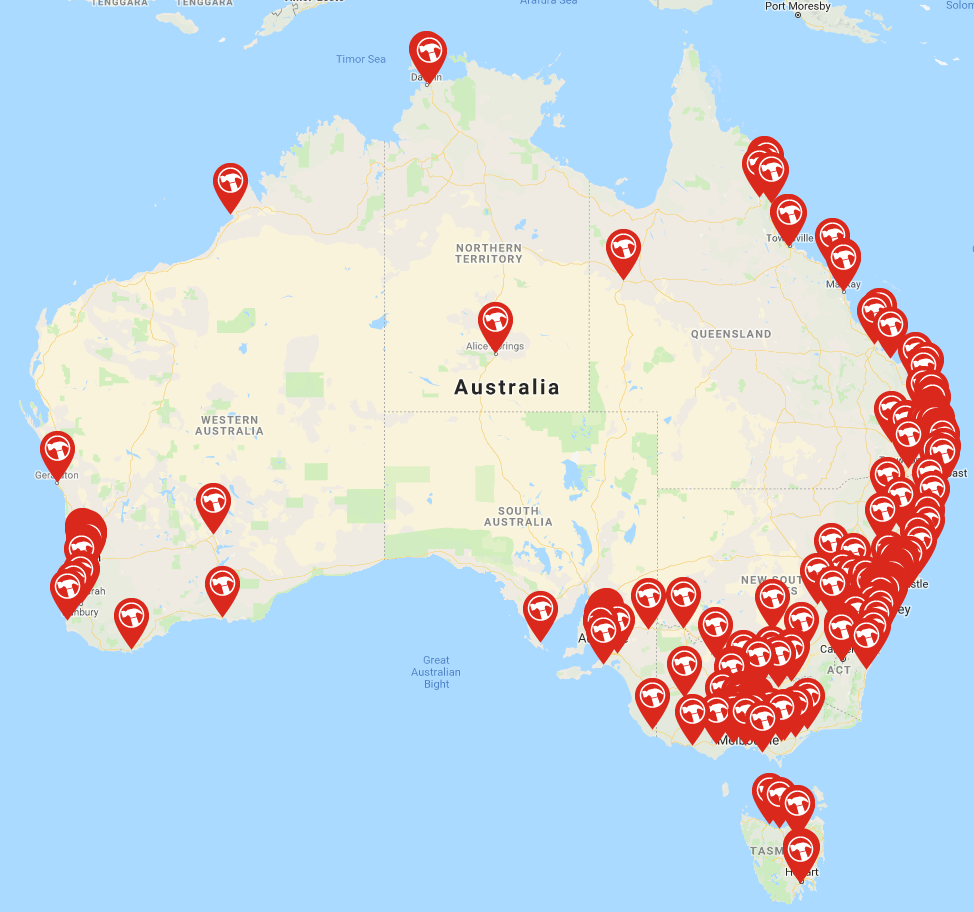
Bunnings Locations:
Find a Bunnings store nearest your address here. They stores are located in:
Bunnings in Australian Capital Territory:
| ACT: |
| Belconnen |
| Canberra Airport |
| Fyshwick |
| Gungahlin |
| Tuggeranong |
Bunnings in New South Wales:
| NSW: | ||||
| Albury | Carlingford | Gregory Hills | Minchinbury | Shellharbour |
| Alexandria | Castle Hill | Griffith | Mittagong | Singleton |
| Armidale | Cessnock | Heatherbrae | Morisset | Smithfield |
| Artarmon | Chatswood | Hoxton Park | Mudgee | Tamworth |
| Ashfield | Coffs Harbour | Inverell | Narellan | Taree |
| Balgowlah | Cowra | Katoomba | Narrabeen | Thornleigh |
| Ballina | Crossroads | Kempsey North | Northmead | Tuggerah |
| Bankstown Airport | Dubbo | Kingsgrove | North Penrith | Tweed Heads |
| Batemans Bay | Dural | Kirrawee | Nowra | Ulladulla |
| Bathurst | Eastgardens | Kotara | Orange | Umina Beach |
| Bellambi | Erina North | Lake Haven | Penrith | Valley Heights |
| Belmont NSW | Forbes | Lidcombe | Port Macquarie NEW | Villawood |
| Belrose | Forster | Lismore | Port Stephens | Wagga Wagga |
| Blacktown | Glendale | Lithgow | Randwick | Wallsend |
| Bonnyrigg | Gordon | Maitland | Rockdale | Warrawong |
| Byron Bay | Goulburn | Marsden Park | Rouse Hill | Warringah Mall |
| Campbelltown | Grafton | Mascot | Rydalmere | West Gosford |
| Caringbah | Greenacre | McGraths Hill | Seven Hills | Wollongong |
Bunnings in Northern Territory:
| NT: |
| Alice Springs |
| Darwin |
| Palmerston |
Bunngins in Queensland:
| QLD: | ||||
| Airlie Beach | Cannon Hill | Lawnton | Newstead | Springfield Central |
| Albion | Capalaba | Loganholme | Noosaville | Stafford |
| Arundel | Carseldine | Mackay North | North Lakes | Toombul |
| Atherton | Dalby | Manly West | Oxenford | Toowoomba North |
| Bethania | Fairfield Waters | Maroochydore | Oxley | Toowoomba West |
| Brendale | Gladstone | Maryborough | Paget Mackay | Townsville |
| Browns Plains | Gympie | Mermaid Waters | Robina | Townsville North |
| Bundaberg | Hervey Bay | Morayfield | Rockhampton | Underwood Compton Rd |
| Bundamba | Indooroopilly | Mt Gravatt | Rocklea | Victoria Point |
| Burleigh Waters | Innisfail | Logan Rd Mt Gravatt | Rothwell | Warwick |
| Cairns | Kawana | Mt Isa | Smithfield | West Ipswich |
| Caloundra | Keperra | Nerang | Southport | Yeppoon |
Bunnings in South Australia:
| SA: | ||||
| Berri | Marion | Mt Gambier | Parafield | Victor Harbor |
| Edwardstown | Mile End | Munno Para West | Port Lincoln | Windsor Gardens |
| Gawler | Modbury | Murray Bridge | Prospect | Woodville |
| Kent Town | Mt Barker | Noarlunga | Seaford | |
Bunnings in Tasmania:
| TAS: | |
| Burnie | Kingston |
| Devonport | Mornington |
| Glenorchy | North Launceston |
| Kings Meadows | |
Bunnings in Victoria:
| VIC: | ||||
| Altona | Craigieburn | Hawthorn | Morwell | Sunshine |
| Bairnsdale | Cranbourne | Hoppers Crossing | Northland | Swan Hill |
| Ballarat | Croydon | Horsham | Notting Hill | Taylors Lakes |
| Bayswater | Dandenong | Keysborough | Nunawading | Thomastown |
| Bendigo | East Pakenham | Leopold | Pakenham | Torquay |
| Box Hill | Echuca | Lilydale | Port Melbourne | Traralgon |
| Broadmeadows | Eltham | Maribyrnong | Ringwood | Vermont South |
| Brunswick | Epping | Melton | Rosebud | Wangaratta |
| Caroline Springs | Epsom | Mentone | Sale | Warragul |
| Carrum Downs | Fountain Gate | Mernda | Scoresby | Warrnambool |
| Chadstone | Frankston | Mildura | Shepparton | Waurn Ponds |
| Coburg | Fairfield NEW | Mill Park | South Oakleigh | Werribee |
| Colac | Geelong North | Moorabbin | Springvale | West Footscray |
| Collingwood | Hastings | Mornington | Sunbury | Wodonga |
Bunnings in Western Australia:
| WA: | ||||
| Albany | Broome | Ellenbrook | Kalamunda | Mindarie |
| Armadale | Bunbury | Esperance | Kalgoorlie | Morley |
| Australind | Busselton | Geraldton | Maddington | O’Connor |
| Balcatta | Cannington | Halls Head | Malaga | Osborne Park |
| Baldivis | Claremont | Harrisdale | Mandurah | Port Kennedy |
| Bayswater | Cockburn Central | Homebase Subiaco | Margaret River | Rockingham |
| Belmont WA | Cottesloe | Innaloo | Melville | Wangara |
| Bibra Lake | East Victoria Park | Joondalup | Midland | Whitfords |
So, if you are still searching for ‘bunnings near me’, you can visit the store locator above.
DIY projects
There’s nothing like enjoying your own homemade creation. Let’s take a look at 3 awesome DIY projects you can get started with at Bunnings:
1. DIY indoor hanging garden
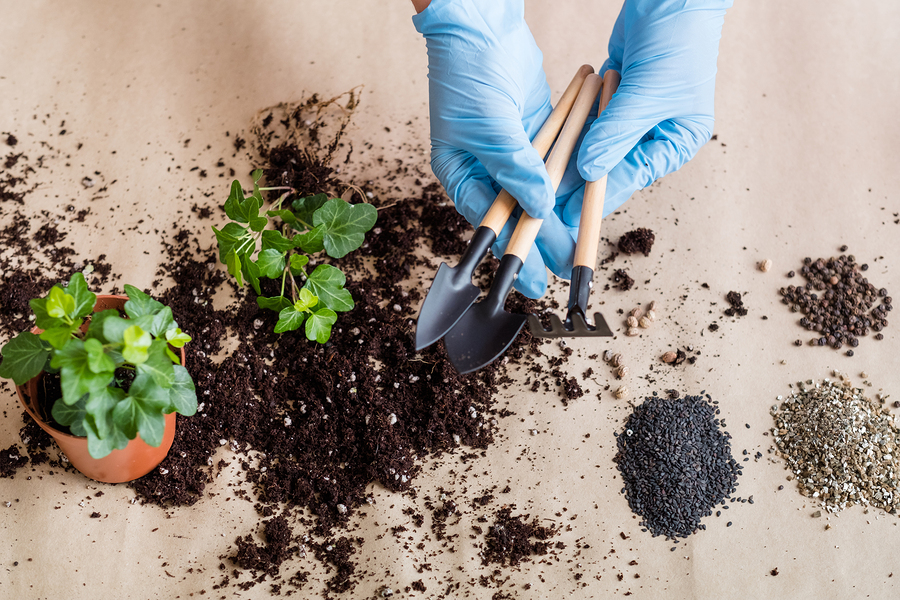
Why not start with something simple? An indoor hanging garden is a really easy way to add a real ‘wow’ factor to your living room space without getting in the way of your floor space.
Items you will need:
- Stud sensor
- Tape measure
- Drain auger
- Safety goggles
- Ear muffs
- Work gloves
- Painter/dust masks
- Galvanised pipe pieces
- 15x100mm
- 15x150mm
- 15x400mm
- 15x600mm
- 15 mm flange
- 15mm female tee
- 15mm female elbow
- 15mm round end cap
- Anti-rust spray paint
- 14G x 85mm timber screws
- Carpenters pencil
- White rags
- Methylated spirits
- Clear plastic drop sheets
Step 1
You will need to begin by measuring and marking where the hanging garden is going to be hoisted from. You need to use your stud finder to locate where the ceiling joists are and mark them. The distance between the joists will determine how large your garden can be.
Step 2
Use your 15mm female tee to connect the two long pieces of pipe.
Step 3
Connect the 100mm pipe with the female tee. Connect the 90-degree elbow to the end of the same 100mm pipe.
Step 4
Connect the 400mm pipe to the elbow piece. Screw the end cap onto the 400mm piece.
Step 5
Connect the elbows with the long pipes. Now, place a flange onto each of the 150mm pieces and then screw them into the elbows. Tighten all joints.
Step 6
Use your methylated spirits and a rag to clean the pipes. Remove the end cap when finished.
Step 7
Drill the 85mm timber screws into an offcut, then spray them with black spray paint and allow them to dry. This helps prevent you from getting paint onto your hands.
Step 8
Masking sure to protect your eyes and mouth, lay down a plastic sheet in a ventilated space and begin to spray paint the entire pipe structure. You will likely need to apply multiple coats.
Step 9
Install by drilling the flanges into the roof joists you identified earlier.
Step 10
Hang your plants and enjoy your indoor hanging garden!
2. DIY bar cart
Want to take your home entertaining to the next level? Try your hands at this incredibly stylish and practical bar cart that’s perfect for serving drinks both indoors and outdoors!
Items you will need:
- 1600W plunge router
- Tape measure
- Work gloves
- Safety goggles
- Ear muffs
- Electric drill
- Screwdriver bit set
- 915mm bar clamp
- 1200mm spirit level
- 2000W 235mm circular saw
- 1800W 254mm laser cutter
- 18v nail gun
- 150mm plastic scraper
- Respirator kit
- ½” copper tube bender
- 18V orbital sander
- MDF 1200 x 450 x 12 mm timber
- 30x 12mm 2.4m clear pine DAR
- Carpenters pencil
- ½” x 3m annealed copper tube
- PVA wood glue
- 32mm galvanised brad nails
- Quick setting filler
- Anti-rust spray pain
- Anti-rust gloss spray
- 20mm metal saddle
- Sanding discs
- 10G x 25mm galvanised wafer head
Step 1
If you’ve made your wheels out of MDF then they should measure 750mm in diameter. Then measure 375mm in from each of the corners which will mark the centre point for the router to go. Mark this spot and drill and 5mm hole.
Step 2
Cut out your MDF wheels, making sure to do it in a well-ventilated space and using your safety equipment. Then, take your router arm and screw it into the 5mm hole you drilled earlier. Repeat this step for the other wheel.
Step 3
Measure and then mark the MDF for the two shelves. They should measure around 20mm x 920 mm x 450 mm. Use your circular saw to cut the wood to shape.
Step 4
Adjust the drop saw to 45 degrees and then cut one end of your pine piece. Measure and mark the shelf’s end to find the second cut point. Repeat for the other side and other shelf.
Step 5
Place the frame alongside the length of the shelf you’ve cut and make sure it’s flush. Take your nail gun and secure the pine frame to your shelf. Repeat for both shelf sides and the other shelf.
Step 6
Take the width measurements of the shelf and then mitre cut on end of the timber frame at 45 degrees. Measure and mark for the second mitre cut. Repeat this for all the other ends.
Step 7
Use glue on the mitres on the frame’s short side and then line up with the timber so that it’s flush with the frame. Clamp together and fix with the nailing fun. Repeat this for other sides and wipe away glue as you go.
Step 8
With all of the cart’s pieces complete, you can now go over them with the orbital sander prior to sticking them all together.
Step 9
Now mark where the bottom shelf will go by drawing a straight line through the centre of the wheel. Repeat on the other wheel.
Step 10
Attach the bottom shelf with the 30mm screws.
Step 11
Attach the top shelf parallel to the bottom shelf. Use your straight edge to make sure that the shelves are completely level with one another. Use 25mm screws to affix the shelf.
Step 12
Fix the second wheel to the cart. Use at least 4 screws on both sides and check levels to ensure consistency.
Step 13
Use your putty to fill screw holes. After it dries, use your sander again.
Step 14
Apply a coat of primer, and then paint the cart. You can use any colour you like, just make sure to do the painting in a well-ventilated area.
Step 15
Create a copper stand for the cart by measuring the length from the underside of the top shelf to the flow.
Step 16
Attach the copper stand to the bar using saddle clips and screws.
Step 17
Enjoy your new bar cart!
3. DIY children’s display shelf
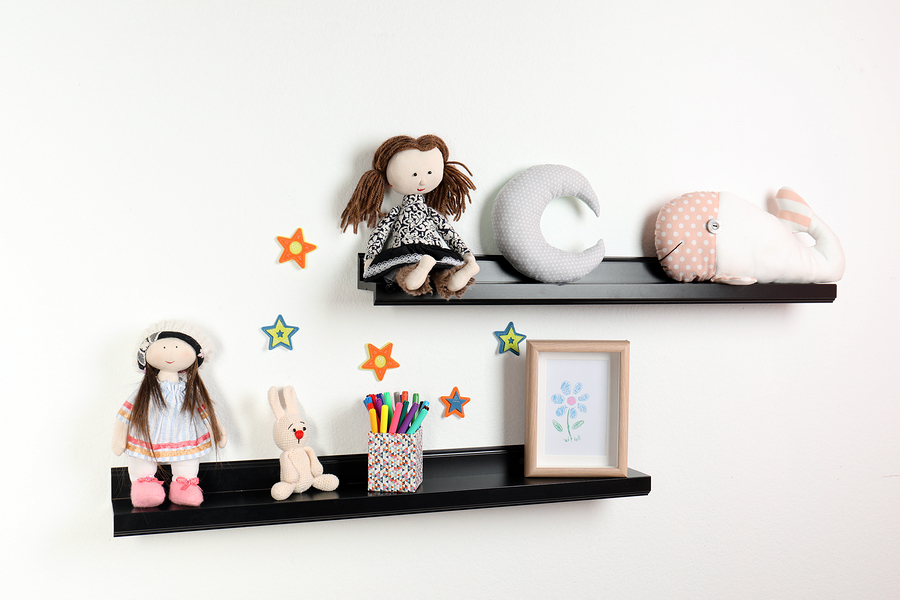
Do something nice for your kids by making them a brand new shelf they can display their favourite toys and books. This project is also a great way to involve kids and teach them some handy skills.
Items you will need:
- Nail gun
- 50mm brad nails
- Carpenters pencil
- Tape measure
- 115mm x 1m 120 grit painted surface
- 6mm dowel and wood drill countersinking
- Walnut wood filler
- Putty knife
- 300mm bar clamp
- 50 mm trim paint brush
- Plastic drop sheet
- Safety goggles
- Dust/paint mask
- Ear muffs
- 90x 19mm x 1.8m oak timber
- 235 x 19mm x 1.8m dressed timber
- 40 x 12mm 2.4m pine moulding
- Gloss paint finish
- PVA wood glue
- Wall anchors
Step 1
Make sure your timber is cut to size. You can actually check the Bunnings opening hours and have your timber pre-cut there.
Step 2
Use your spare hardwood to measure our two 70mm lengths to act as the shelf ends.
Step 3
Wearing all of your safety equipment, use your drop saw to cut you shelf ends to size.
Step 4
Squirt some glue along both 600mm timber lengths and then create an L-shape with flush edges. Secure using 50mm brad nails and fixing gun.
Step 5
Apply PVA glue to the bottom of the shelf ends then put them in place, ensuring the edges are flush. Then turn over the shelf an use the fixing gun and brad nails to fix everything in place.
Step 6
Mark the halfway point on the shelf sides with a tape measure. Right above this line is where the 20mm moulding will be attached for the front rail.
Step 7
Using the fixing gun and brad nails, attach the front rail to the shelf.
Step 8
Putty up and sand the holes.
Step 9
Paint your shelf the desired colour.
Step 10
Affix the shelf to the wall using your anchors. Now let the kids have fun filling it up!
As you can see, there are plenty of great DIY activities you can get stuck into over the weekend. Start with a simple search for ‘Bunnings opening hours’ and before you know it you’ll be starting a fantastic home project you can really be proud of once you’ve finished.