

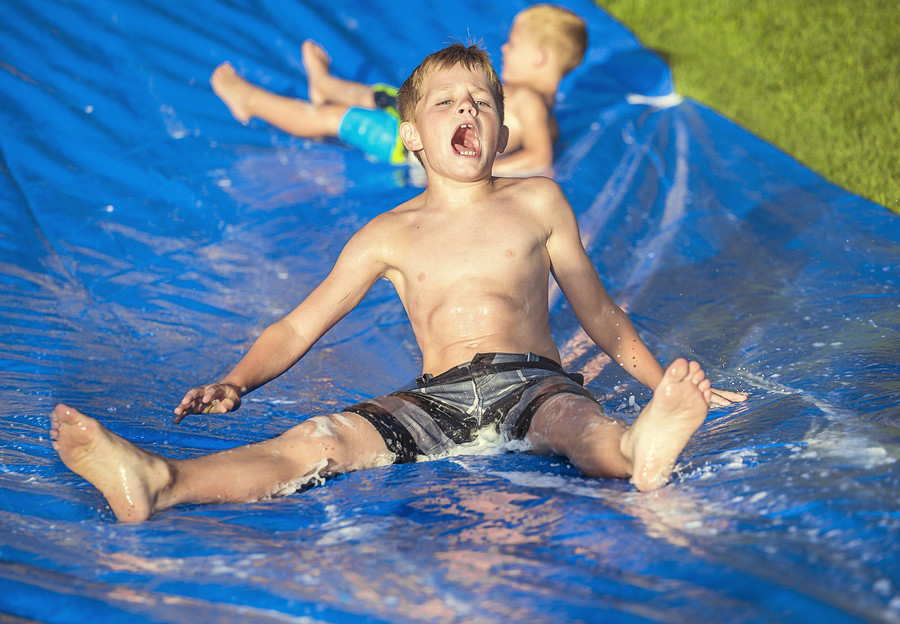
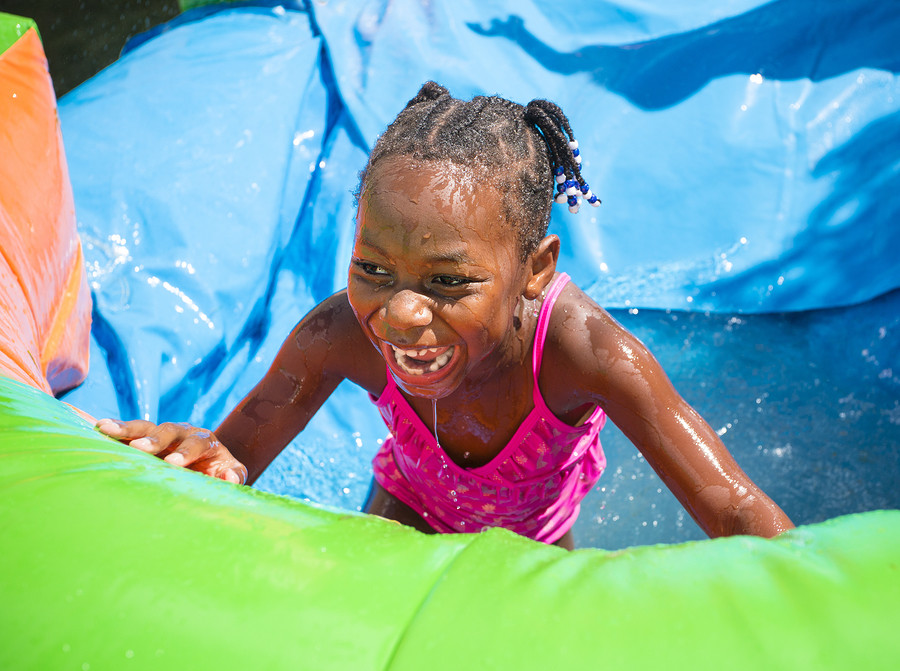
Whether you’re organising a kid’s birthday party or it’s time to let your inner child run wild, slip n’ slides are a great Australian summer tradition.
This water activity has always been an Aussie favourite. From water parks loaded with the best thrills and giant inflatable water slides, it’s no wonder that homemade slip and slides are a recognised part of many Australian childhoods.
For parents, investing in toys and activities that get the whole family having fun is important. And slip n’ slides cater. Keeping the kids entertained is priority, of course, but who’s to say adults can’t benefit from a man-sized slip n’ slide?
If you have the backyard (or beach/park) space and looking for hours of entertainment, then slip n’ slides can be the way to go. Knowing how to make a homemade slip and slide is a cost-effective alternative to get creative and have a little fun in the process. Here’s what you need to know to go DIY.
Supplies you will need
Before you start digging up the backyard, make sure you have the right supplies handy. A trip to Bunnings should sort you out with the following:
1. Plastic tarp or sheeting
As the main material for slipping and sliding on, you want to choose plastic tarp or poly sheeting that’s thick and less likely to tear. The higher durability, the more you can reuse the slide in the future.
This will most probably be your biggest expense, so don’t skimp on it by purchasing cheap thin plastic. Sheeting from six millimetres is best to minimise tears and offer protection from rocks and anything sharp underneath, which can still be cost-effective from the right hardware store.
Use white or black plastic, just be wary that black plastic will get hot between slip n’ slide breaks. The width and length of your chosen tarp is dependent on how big you want the slide.
2. Digging supplies and/or tent stakes
Depending on where you choose to make your slip n’ slide, you may need a shovel to level out the playing field.
If you’re making your slide at the beach, you can pile sand along the edge to hold the sheeting in place.
If you’re using a grassy space, use tent stakes to secure the corners of the tarp. It’s important these stakes are pushed as far into the ground as possible (a hammer will be handy here), especially if kids are using the slide, for safety precautions.
3. Pool noodles
Remember playing ten pin bowls as a kid with the gutter barrier up? Pool noodles act in a similar way for your slip n’ slide, making it easier (and safer).
They’re also a great trick for helping to hold water on the slide and serve as a soft bumper edge for the kids (or accident-prone adults).
4. Water proof double-sided tape
To secure the pool noodles to the tarp’s edges.
5. Lubricant
Slippery slides are no fun if you’re not sliding after you slip. Use dishwashing detergent, bubble bath or baby oil for best results.
6. Water
The most important ingredient – and plenty of it, if you want hours of fun.
Having access to a nearby (long) hose to trickle water down your slip n’ slide throughout the day is the easiest option. Alternatively, public spaces may mean getting the kids to do a bucket brigade. If that’s the case, invest in a few buckets so you don’t need to constantly fill them up.
Old fashioned lawn sprinklers with a sprinkler hose can also be useful.
Now you’re armed with the right supplies, it’s time to get this ride underway.
Building the slip n’ slide is easy. You’ll need to:
1. Choose the perfect location
If possible, position the slip n’ slide near a hose. Flat surfaces are best, with a slight ‘runway’ on one end. A small downhill slope that peters out will provide the perfect sliding real estate.
Choose an area with soft grass and your desired amount of incline, depending on how fast you want to slide, as well as a safe landing area.
2. Remove rocks and sharp objects
Prepare the location by removing any rocks, debris or sharp objects that can pierce the tarp and/or injure players.
3. Secure your tarp
Tarps can be secured to the ground with small piles of sand, sand bags or tent stakes. If you’re at the beach, the sides may be buried into the sand too.
Roll out the sheeting and secure accordingly. Longer slides may need additional anchors in the middle.
Lay the pool noodles around the perimeter of the plastic, with a small space between each. You can pull the plastic over the noodles from the outside edge to secure the barrier if needed, or just use double sided duct tape the hold the noodles in place.
4. Apply water
To ensure a slick surface for slipping and sliding on, the slide needs to be wet thoroughly.
Give it a good watering and keep a lawn sprinkler next to the slide to help keep it wet.
5. Apply soap lubricant (generously)
Liquid soap, baby oil or bubble bath will help reduce friction on your homemade slip n’ slide. Keep the slide lathered throughout use, your sliders will spread it for you.
6. Have fun!
Now your homemade slip n’ slide is ready to rumble, make a day out of it with games and fun competitions. Get creative and make your own or be inspired through these ideas:
- Slip n’ slide bowling: Use inflatable bowling pins and tubes for people to ‘roll’ in.
- Make it part of an obstacle course: For an ultimate backyard water bonanza, create a course by combining the slip n’ slide with other water games.
- Wave riders: Use an inflatable boogie board, lay on your stomach and slide down. Get someone to use the hose to spray under the ‘rider’ as you slide to create the wave effect.
- Extra additions: For a true Aussie adventure, add a kiddie pool to the end of the slip n’ slide which can be used as a landing pool. Just make sure it’s inflatable.
Slip n’ slide safety rules
There’s a lot of fun to be had with slip n’ slides. However, for the ride to be a safe one, it’s smart to set a few rules.
- One person rides at a time: Allow enough sliding space between people to avoid elbows to the face and other potentially dangerous body parts coming your way.
- No standing: Trying to ride the slide with your feet will almost always end up in disaster.
- Don’t dive: Running and ‘diving’ to slide down the slide is dangerous and can result in permanent injuries. Instead, lay on the slide and use your hands to propel forward initially. If you’re sliding on inflatable objects, always ready the safety precautions on the packet.
Slip n’ slides are popular for providing hours of entertainment. They also encourage bonding and socialisation amongst children, as well as being a great party or summer afternoon activity for adults to join in on the fun too. If you create a homemade slip n’ slide, share your tips or photos below.