Do you need to transfer data between G Suite accounts? Maybe you want to data of former employee to G Suite account, share data with another user, or you are switching to a different G Suite domain.
No matter what, the data transfer task is quite cumbersome. It requires a lot of effort to transfer single user data to different accounts carefully. Even a small blunder can lead to massive data loss. This is why here we will discuss some of the practical methods for transferring G Suite data to another account of the same or different G Suite domain.
In this guide, we have compiled two solutions to transfer data, one by using Google service and another with a third-party tool.
Tips: See How to Transfer Data From G Suite to Office 365 Platform
Google’s solution is quite perfect to execute the task, but there are some limitations in both due to which we are explaining both. You can choose the method according to the requirement and execute the migration yourselves.
Technique #1: Using DMS to Transfer Data Between G Suite Accounts
The DMS is a data migration service inside the Google WorkSpace (formerly known as G Suite) Admin Center that allows administrators to easily access/manipulate user data without consent. An admin can edit/delete/transfer user account data. Using the data migration service, it’s possible to transfer data between G Suite accounts.
However, the in-build G Suite data migration service has its own limitations. It creates unnecessary hassle during the data transfer task which creates complexities in front of administrators while transferring G Suite data.
But, since the Google migration service is an in-build application and completely free to use, it is quite alright if you just want to perform a certain type of migration. So, if you want to learn the steps to perform the migration then, follow the steps below:
1. Login into the Google Workspace admin console using administrator credentials. There, from the dashboard, select “Data Migration”

2. Now click on the “SET DATA MIGRATION” link to continue with the transfer process.
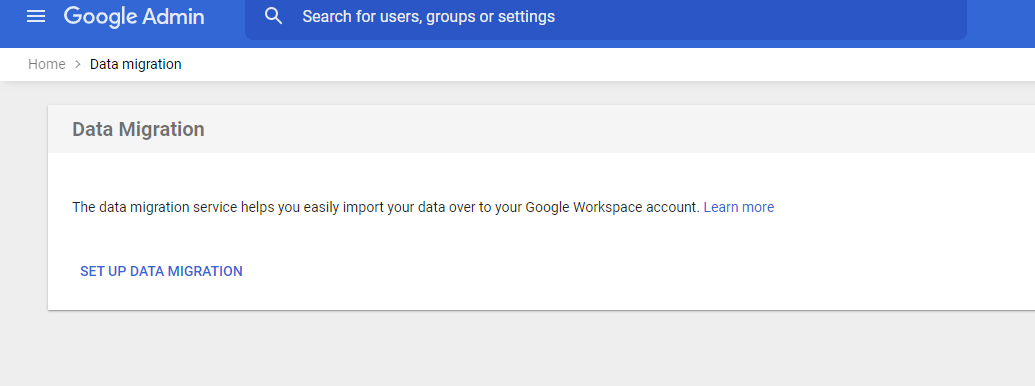
3. For transferring data between G Suite account, select the Source as “Google Workspace”. Once Google Workspace as a source is selected, all the other field will vanish. Now, click on Next Step to proceed further.

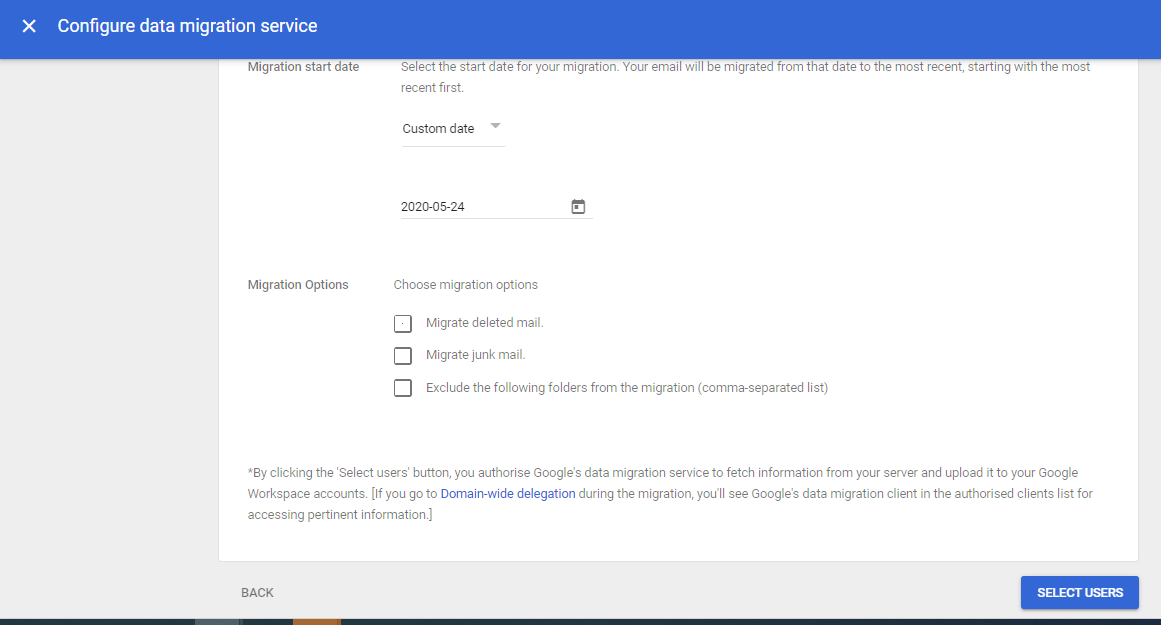
4. While configuring data migration service you can filter the data for migration by using “Migration Start Date” and “Migration Option” filters.
5. In the next window, click on the “Add User” or “Bulk upload CSV” option for mapping G Suite user-id/domain.
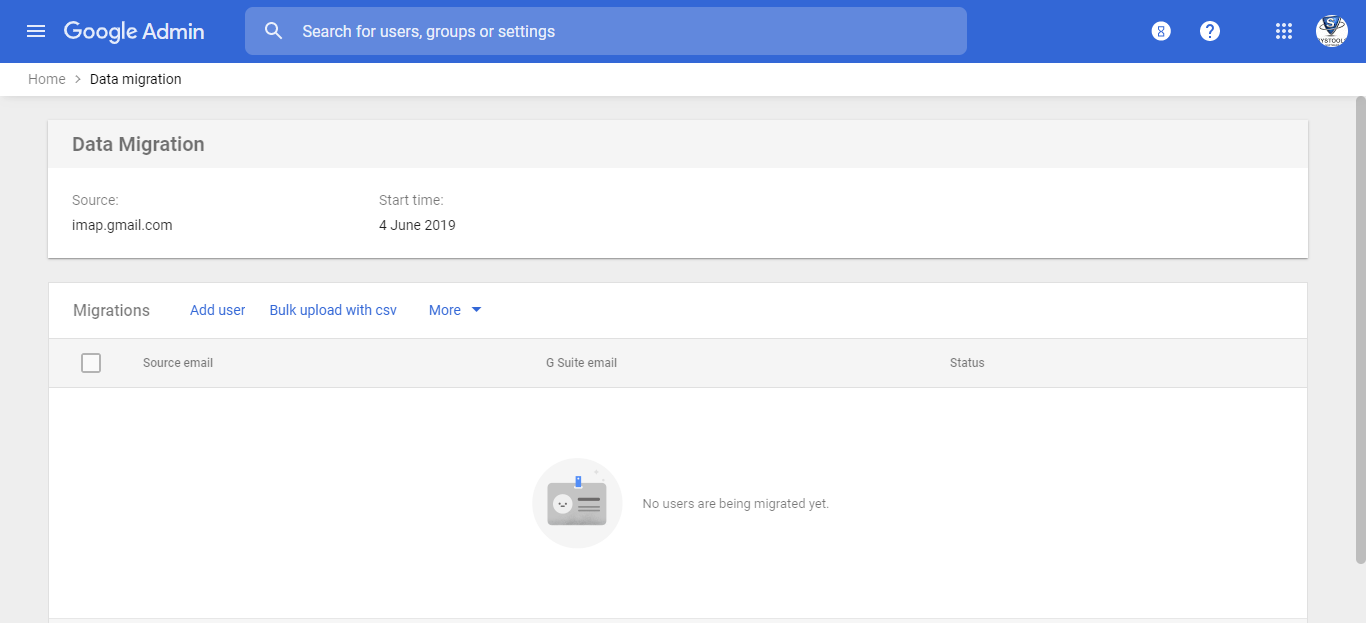
For transferring single user account data:
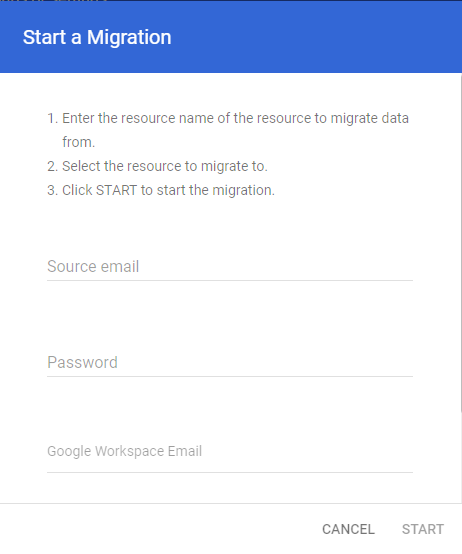
• From the migration screen click on “Add User”.
• In the source field, provide the source Google workspace id
• In the next field enter the password of the source user account.
• Now, in the Google Workspace Email field, start entering the user email address and then select the user from the list.
• Finally, click on the “Start” button to transfer data between G Suite accounts
For multiple user account data migration:
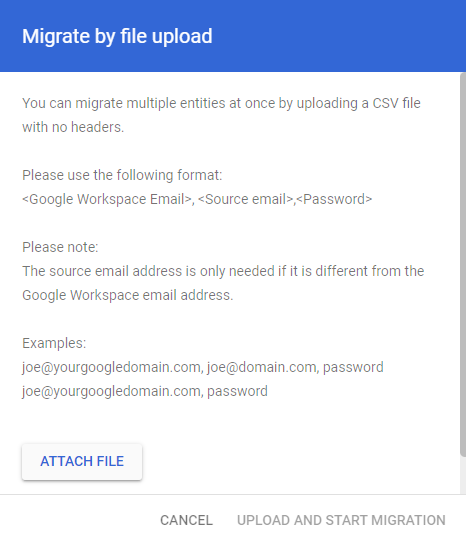
• Click on “Bulk Upload with CSV” option.
• Create a CSV file containing, <Google Workspace Email>, <Source email>,<Password>. Here Google workspace email is the email id of the destination account and Source email and Password are the email id and password of the Source Google workspace account.
• Provide the details in the CSV file for all the user accounts and then click on the “Attach File” option to upload it.
• Finally, click on the “UPLOAD AND START MIGRATION” button to begin the data transfer task.
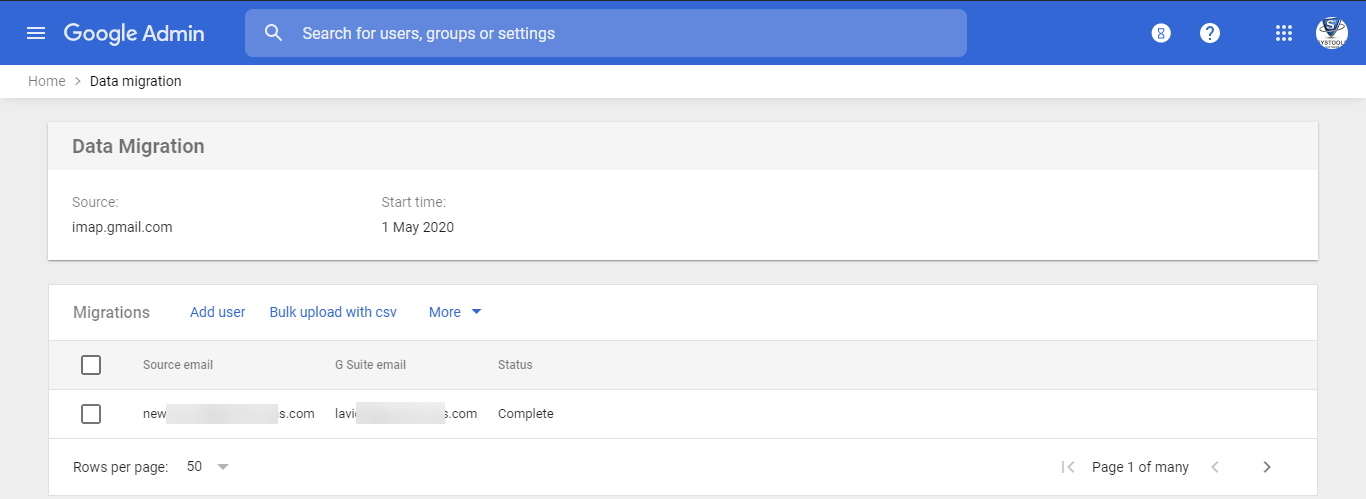
Once the migration begin, the data migration service will preview the live status of ongoing data transfer. And once the process is complete, you can click on “More” >> “Email Report” / “Exit Migration”
Limitation of Google Workspace Migration Service
Following are the list of limitation that is faced by the administrator while using data migration service.
- Transfer only emails between G Suite accounts
- Unnecessary trouble to enable imap in all user accounts
- No service to transfer G Suite data to different G Suite domain.
- No delta pass to transfer new and update data between G Suite accounts
Professional Solution Transfer Account Data Between G Suite Domains
Now, if you aren’t happy with the data migration service then you can take the help of an automated third-party G Suite to G Suite migration tool for the task. This solution is offered by SysTools, which makes your data transfer journey quite easy. It overcomes all the limitations of traditional migration service in Google workspace and provides much more features and flexibility during the process.
Using the professional solution, the admin can transfer emails, contacts, calendars and drive data between G Suite accounts of the same or different G Suite domains. There is no limitation on the amount of data that can be migrated for each user account, the utility will migrate complete data without leaving a bit of information. However, if you just want to migrate a particular category of items or a particular date-range then you can use the Category and date filter provided by the tool.
Step to transfer G Suite data between different domains:
1. Visit the official website to download the utility for migration and install it on your machine. The tool is available for both Windows and Linux operating systems.
2. Launch the utility and click on the “Activate” button to register for the demo or full version.
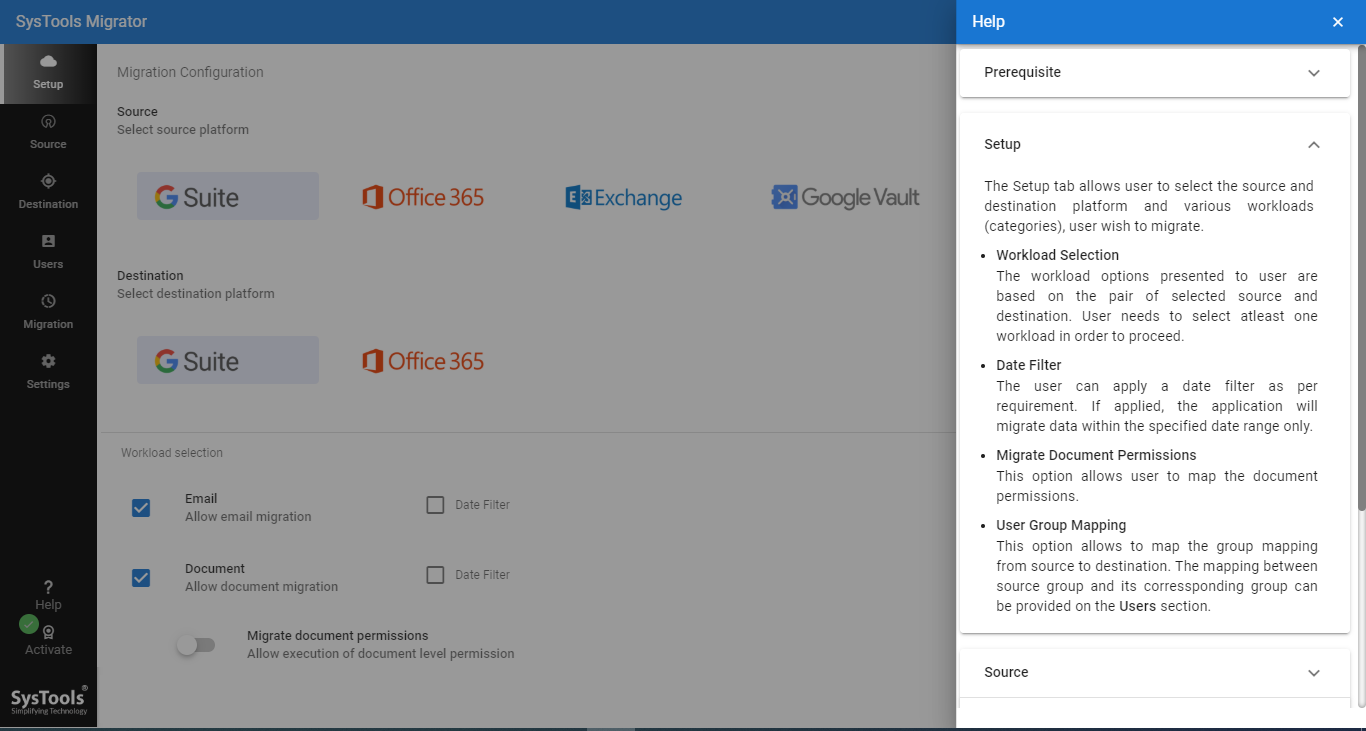
3. Once the registration is complete, select the migration source and destination platform as “G Suite” from the list.
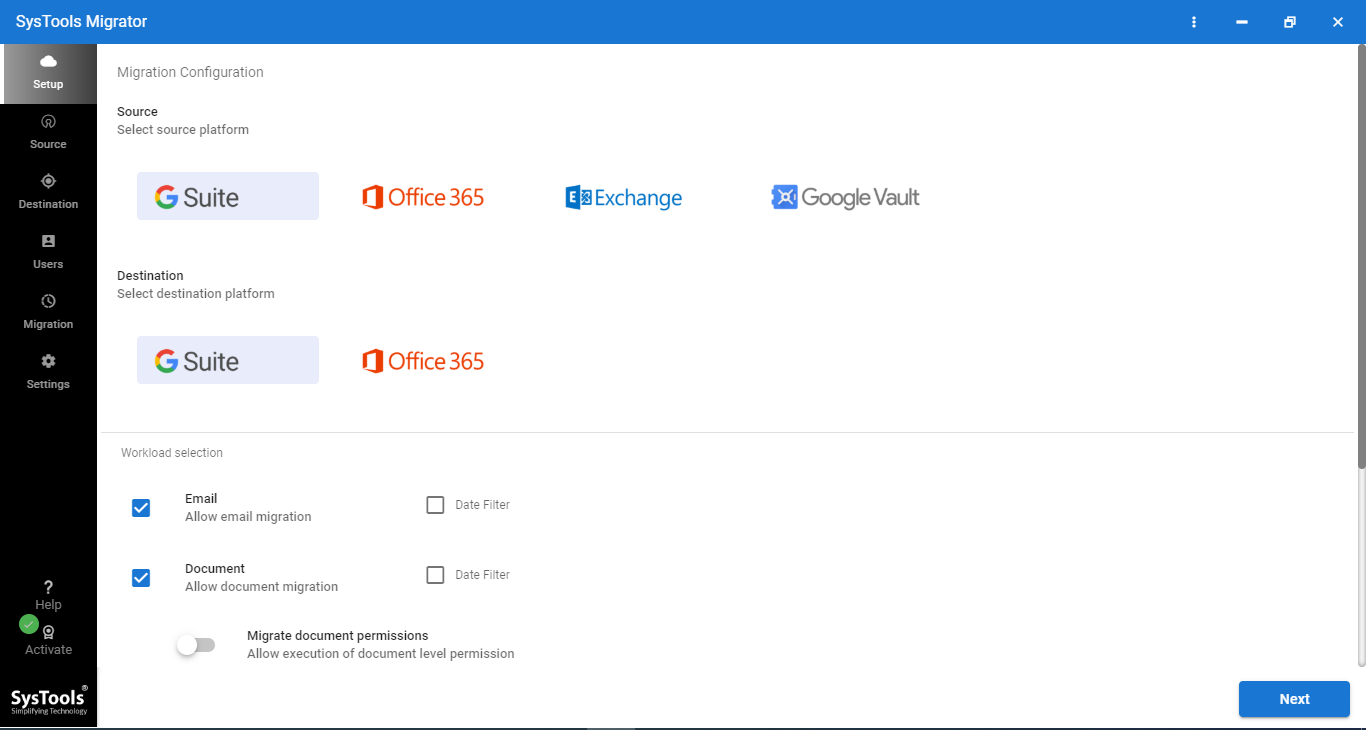
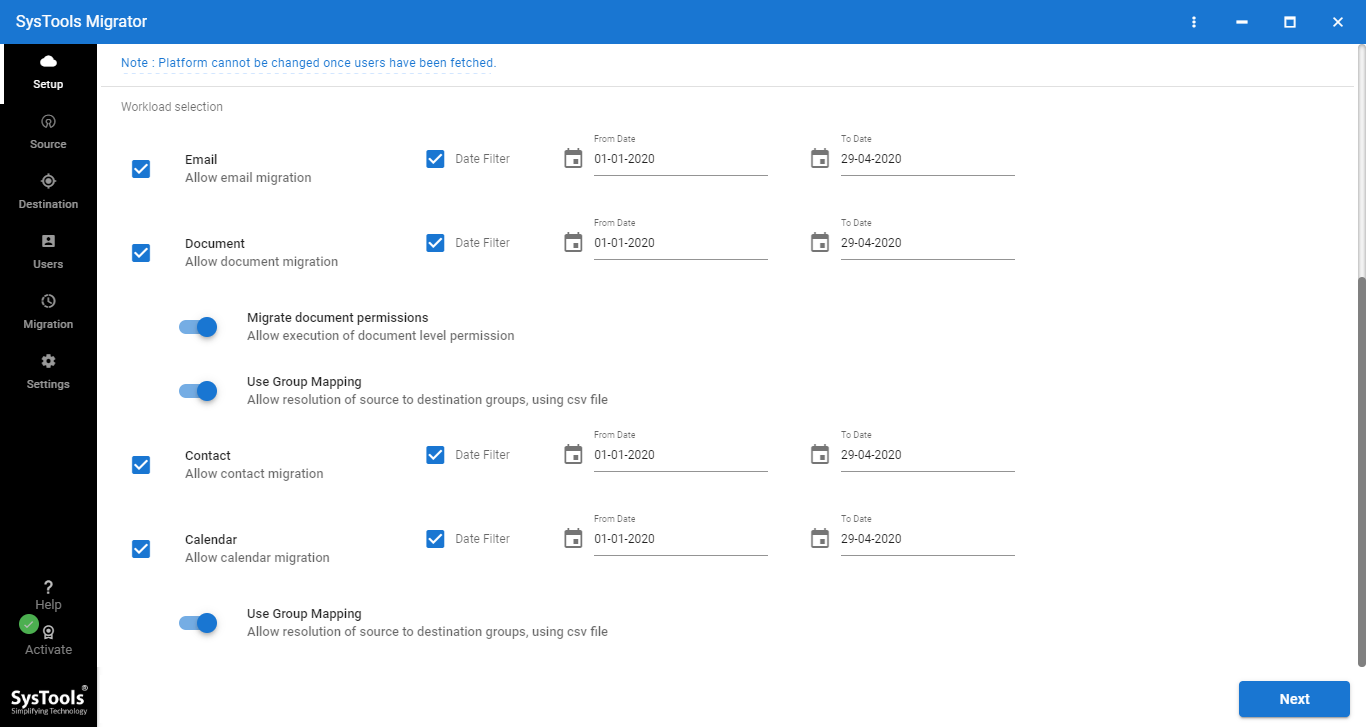
4. Scroll-down to the workload section to select the category and date-range filter for migration >>Next.
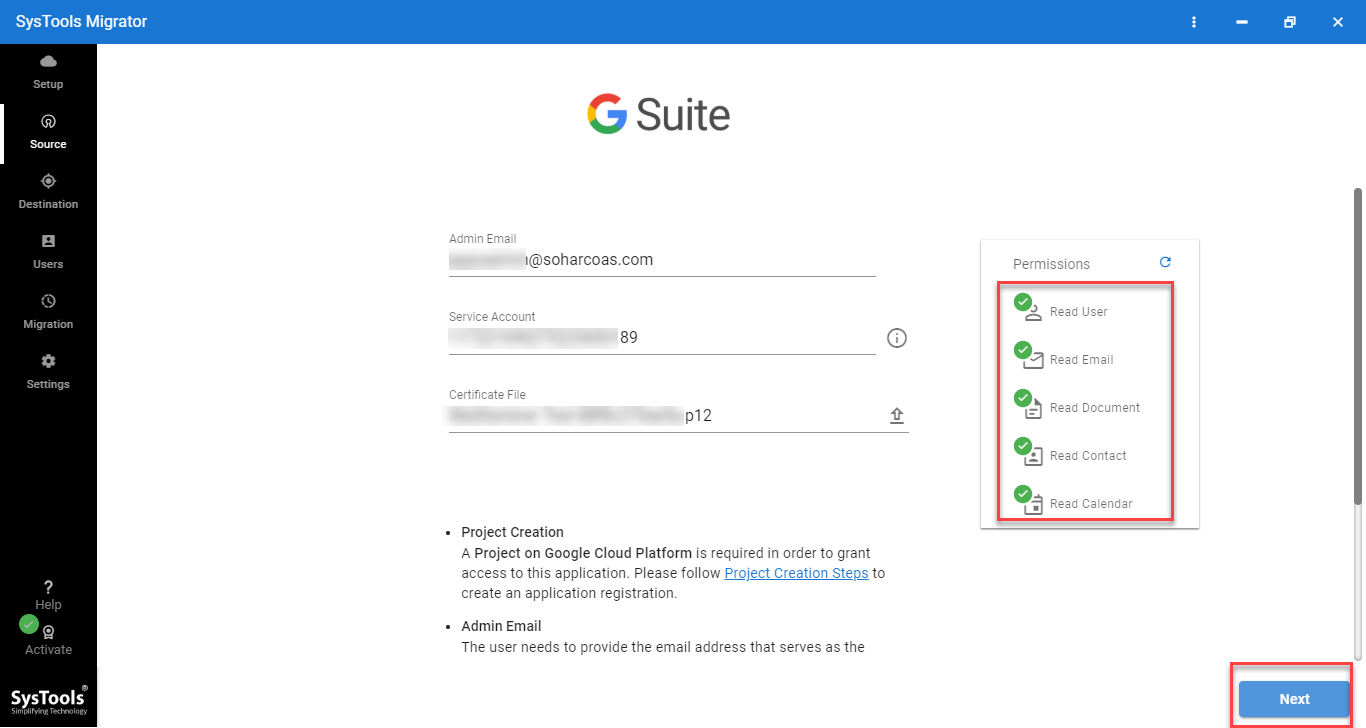
5. Click on the Source tab to enter G Suite Admin Id and then provide the p12 file path and services account id. (Click on Project Setting to know steps to create p12 file and service account id). Once done, click on the “Validate” button for the authentication of source admin account details.
6. Similarly, in the destination tab, provide the details for the destination G Suite admin account domain and Validate.

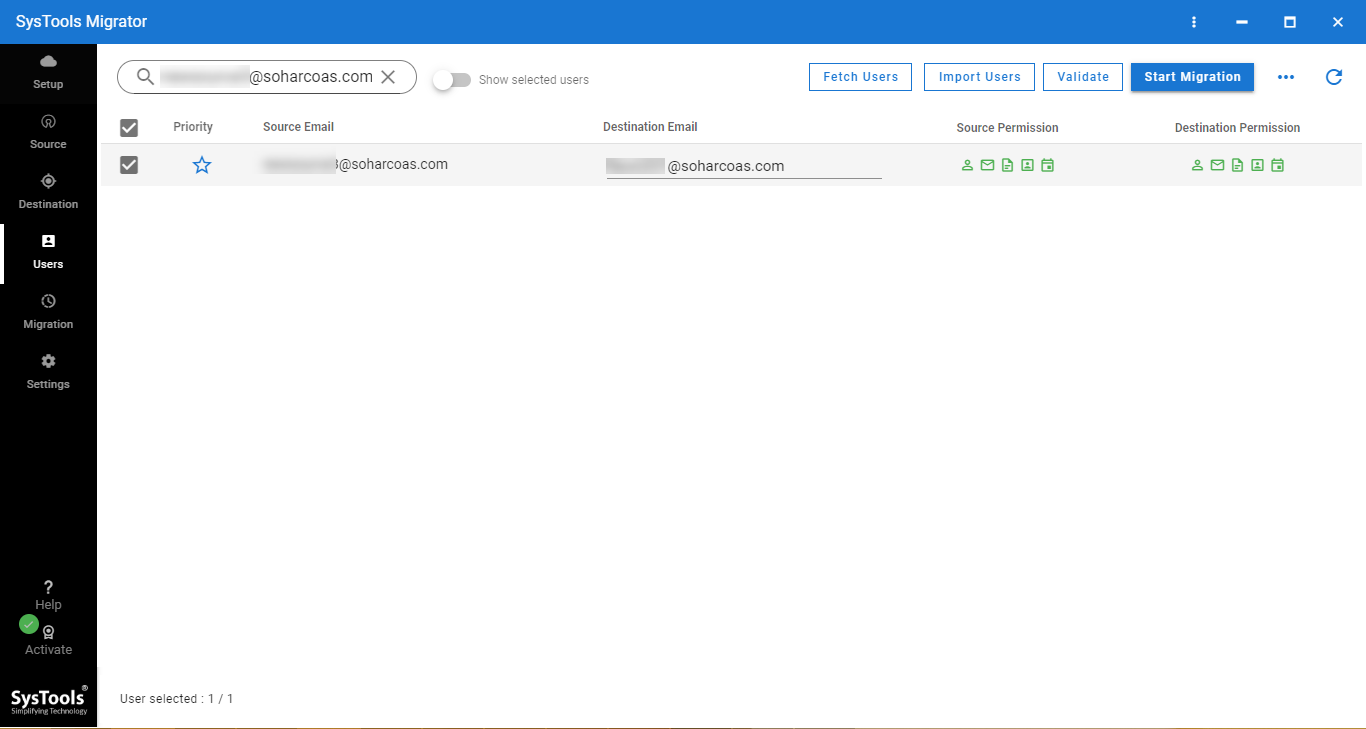
7. Now for mapping of source and destination user account, choose the desire option. The tool provides two options; Fetch Users and Import Users.
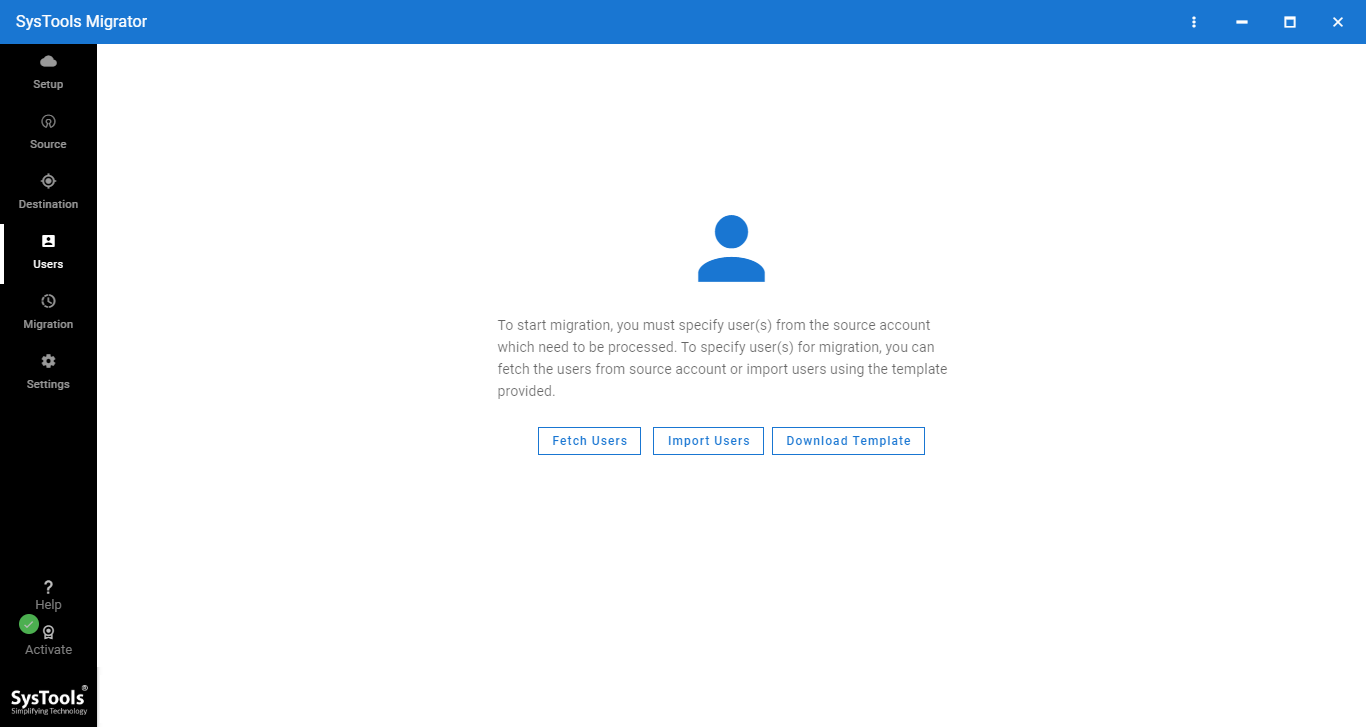
8. Once the mapping is done, click on the “Validate” button for the authentication of user account ids and then click on the “Start Migration” button.
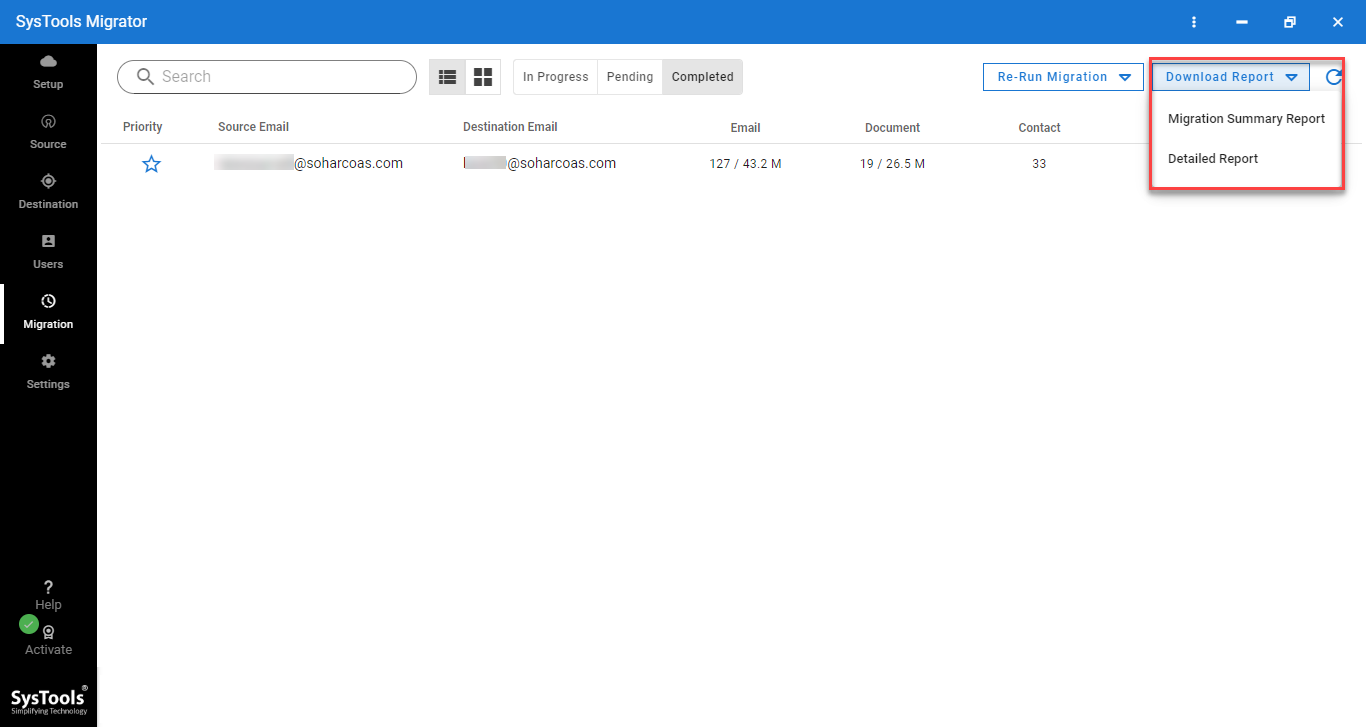
Now the data transfer between G Suite account will begin. Once finished, click on “Download Report” button to get the details of migrated items.
Advantage of Professional Utility
- Simultaneously transfer emails, drive, calendar, and contact data
- Perform migration between different G Suite domains
- Fast user id mapping features
- Unlimited delta passes to transfer newly arrived data.
- No limitation on the amount of data that can be transfer
Final Words
No matter what your reason to transfer data between G Suite account, using the above techniques you can execute the task quite effortlessly. You can either opt for the Google Workspace migration service or take the help of an automated tool. Compare both the techniques carefully to pick the right solution for your organizational benefits. For testing of the tool, first, try the free demo version which comes up with 2 free licenses for unmetered migration.

