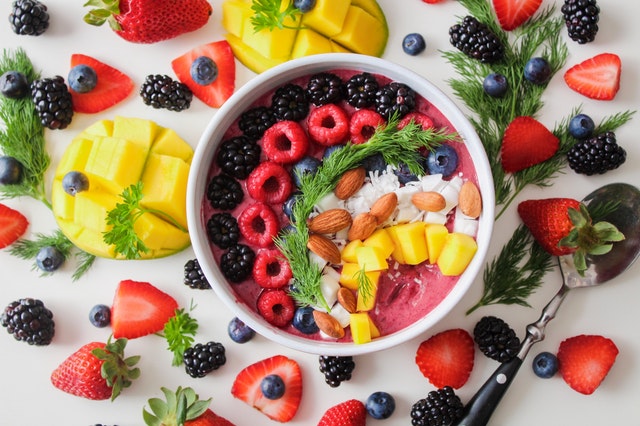
Food photography is not only a fun hobby that delivers great Instagram shots, but it opens the door to activities like food blogging, e-book creation and making money with product photography.
The great thing about photography is that anyone can do it – you don’t need a fancy DSLR to take great shots. All you need to get started is a smartphone.
Pick a photogenic dish
The first and most important step in food photography is picking the food you want to photograph.
Know your camera
Regardless of whether you are using an iPhone or a Nikon DSLR, it is important to understand how your camera works. Basic point-and-shoot cameras and smartphones are pretty easy to learn and are a great choice for casual hobbyists and amateur bloggers.
DSLR (digital single lens reflex) cameras have a steeper learning curve – and price – but are worth the time and money if you are serious about making money as a photographer. They give you a lot more control of your image in a range of lighting situations; they often work a lot better in low light than a point-and-shoot camera. If you are new to DSLRs, we recommend doing a bit of study online first to learn the basic principles behind how to use them – namely understanding shutter speed, ISO and aperture.
Composition
Regardless of the kind of camera you are using, the principles of composition remain the same. Pick your point of focus –the more specific, the better (generally). Try focusing on the garnish of your dish rather than the meal as a whole.
The rule of thirds
Imagine your image is divided into nine equal squares – with two lines running vertical and two running horizontal (you can actually have your smartphone camera or DLSR show this grid by adjusting the camera settings). Your point of focus should be located at one of the vertical and horizontal intersections – this creates interest and makes your image more appealing.
Negative space
Negative space refers to the space surrounding the main subject of a photo. It works great in food photography as it creates contrast between the food and the background, making the food stand out.
Angles
Selecting the right angle for each dish is important and takes a bit of practice. Things like pizzas and cakes tend to look best when shot from overhead, whereas burgers and sandwiches loaded with toppings benefit from an eye-level angle (just make sure you’ve got a nice background!).
Lighting
Lighting is capable of transforming a flat, ‘blah’ image into a mouth-watering one. Natural lighting is usually preferred to artificial lighting, though if you are forced to work indoors at night, switch your white balance mode to tungsten to neutralise the yellow glow.
Make sure to consider the direction the light is coming from – backlighting usually works best to create a natural look that highlights any steam coming off the food. On a cloudy day you might need to reflect some of the backlighting to brighten up your dish. You can do this using a reflector or even a bit of paper towel if you’re desperate!
Styling
Now for the really fun part – styling! Here are some tips:
- Use complementary colours – these are colours that contrast each other in the colour wheel. Think blue with orange or pink with green.
- Cluttered photos can work well in certain situations, like if you are showcasing a big Christmas spread, but generally the simpler the better.
- Make the most of props. Jazz up a bowl of soup with some garnish, a pretty spoon, your favourite tablecloth and a plate of fresh bread.
- Plate your food up nicely – full bowls are usually better than half-empty ones, and smaller bowls help to showcase the food better.
- Choose a location that will complement the photo, such as a stylish dining room or a park with a picnic blanket.
- Take shots before and after adding dressings or sauces as they can cause the food to wilt.
And finally,
Editing your photos using digital editing software is an easy way to help brighten your images and make the colours pop. If you want to go pro, consider Corel PaintShop Pro, Skylum Luminar, Adobe Photoshop or Lightroom. If you are using a smartphone, VSCOCam and Darkroom work well – Adobe also offer express versions of Photoshop and Lightroom in app form.
Practicing food photography can also be a fun activity to do with the kids, and can help you to experiment with different food ideas.


